The Ultimate Front-End Developer's Guide to Photoshop


Working as a front-end developer you need to focus on many things. Some of them are hidden in the code, others exist in front of us. However, when they seem too complicated to deal with, many devs take the line of least resistance and aim to get their work done, rather than understand what the issue was about.
As you’ve probably guessed (the hint is in the title!), I’m talking about Adobe Photoshop. The most popular graphics application on the planet, used by thousands of people each day, many of whom are developers, designers or professional photographers - but you may also use it for retouching your selfies if you wish! Now, let’s get down to the business. I’ve written this post for the first group - developers.
Photoshop is a great app, especially when you can make the most of the features you’re interested in. There are lots of options, algorithms and functions to use, but I won’t discuss them all - you have Adobe guides for it. In this post, I’ll focus on useful features which can improve the workflow for people using Photoshop not to design, but to get important information from a PSD file and apply that to the web project they are currently working on.
In my opinion, a front-end designer should know as much about the design as a designer knows about the html5 and CSS technologies and the limitations that come with using them.
In this post, I’ll teach you about:
- Setting up units
- Setting up the workspace
- Typography
- Colors
- Layers
Let’s get started!
1. Units
These are extremely helpful when you’re recreating a project from an existing PSD file. You should set them up before you start working with your file. This will help you achieve exact 1:1 compatibility in the project when coding to the web.
To set up units, go to
Photoshop > Preferences > Units and rulers
and change all units to Pixels (PX).
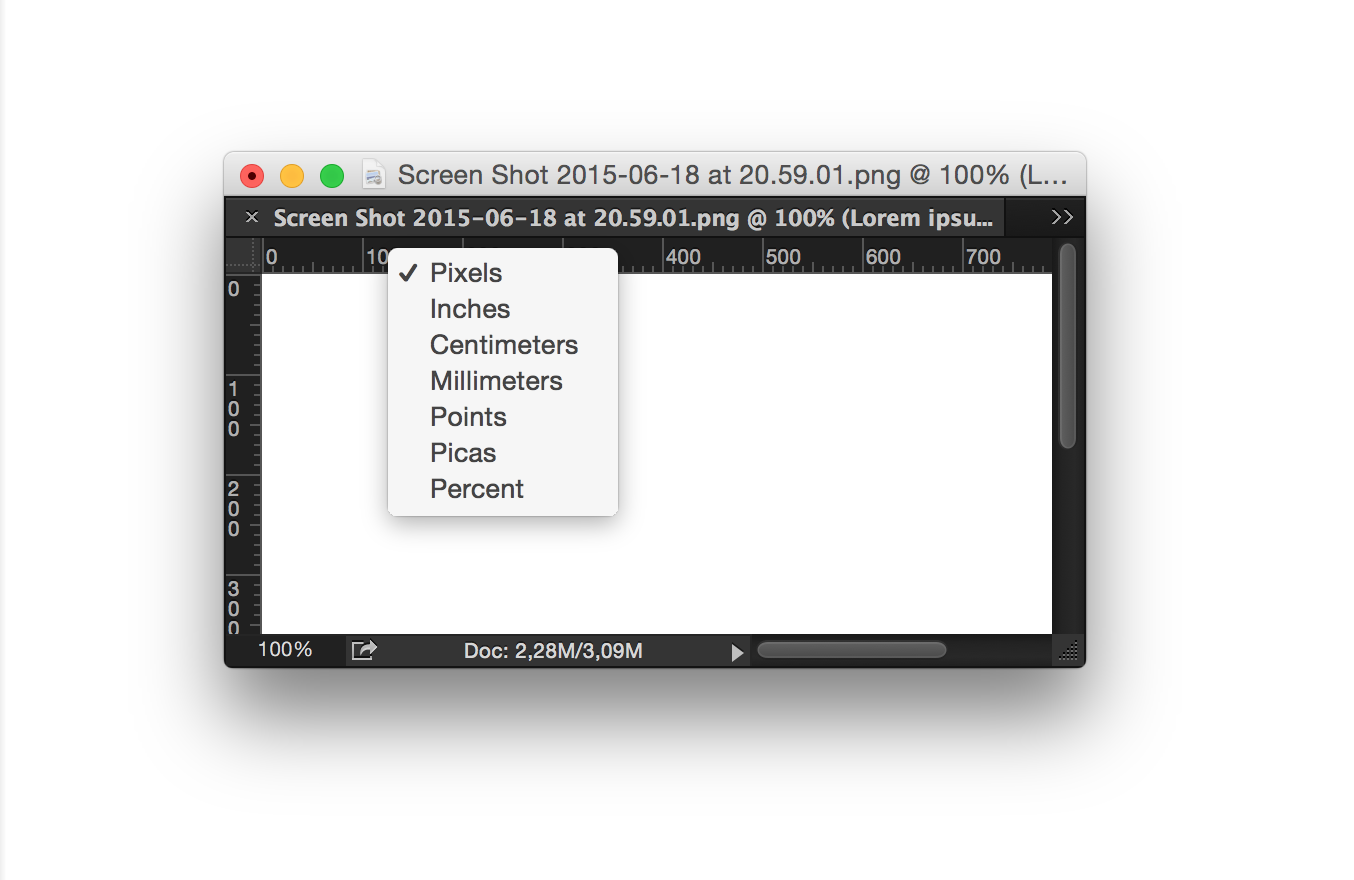
The second place where you should change units is hidden - you’ll need to turn on the ruler. Find these keys on your keyboard: Command + R or CTRL + R (Windows) and press them. When the ruler appears, right click on the ruler to change the units:
2. My workspace
Photoshop is a complicated beast. It can take a lot of time to open and position the palettes and windows you need to work with. The first thing you should do is to turn off all panels that open by default. Yeah, all of them.
The next step is to select the windows you need most. You’re a developer, so all the necessary stuff you need to work with is summed up in this list:
- Layers - a panel that allows you to manage layers by adding, deleting, moving etc
- Info - windows that show us information about the selected object
- Navigator - allows us to quickly change the view of our project using a thumbnail display
- Character - a panel which contains information about the selected text layer
- History - gives us the ability to jump to any recent state of the project created during the current working session
- Notes - photoshop version of notepad, to store necessary information in one place
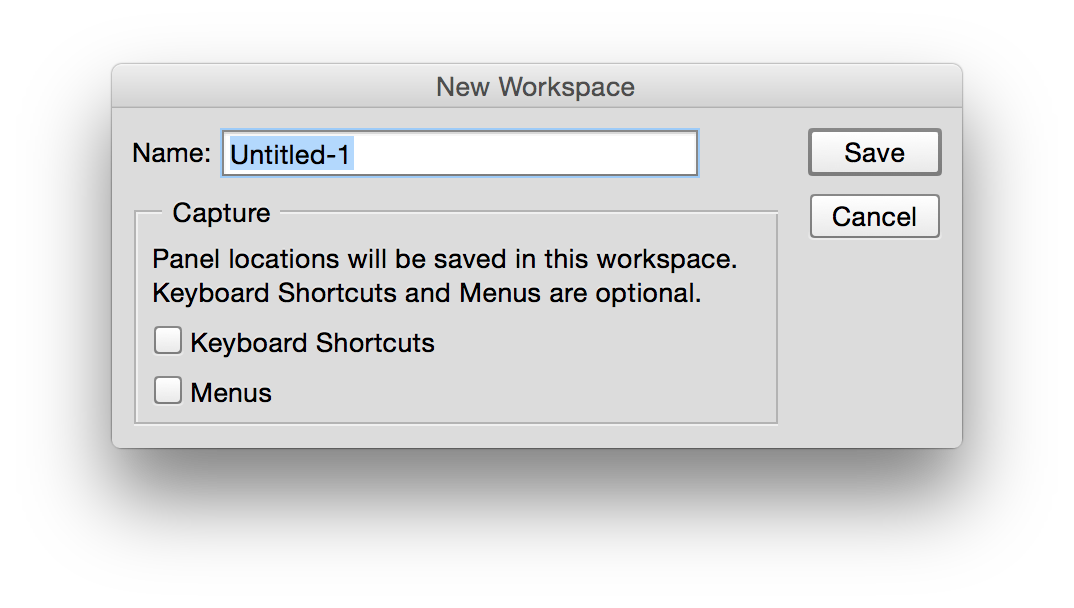
Once you’re done moving and dragging, you need to ensure it can’t be lost. So go to:
Window -> Workspace -> New Workspace
and name your new workspace, for example, “Development.”
3. Typography
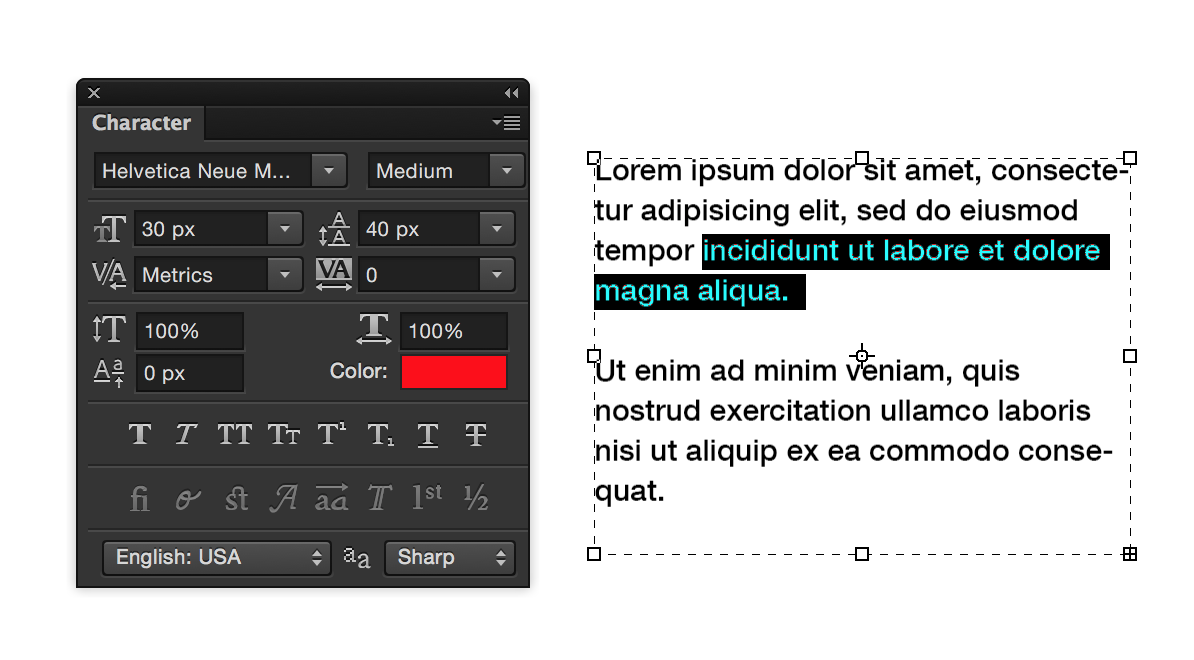
In the previous section, you learned how to set up your workspace. One of the panels mentioned was Character, which we’ll now use.
The easiest way to check the font size, line height and color of a font is to use the Type Tool (T - key) and click on any text. Your Character panel will show you all the font info you need.
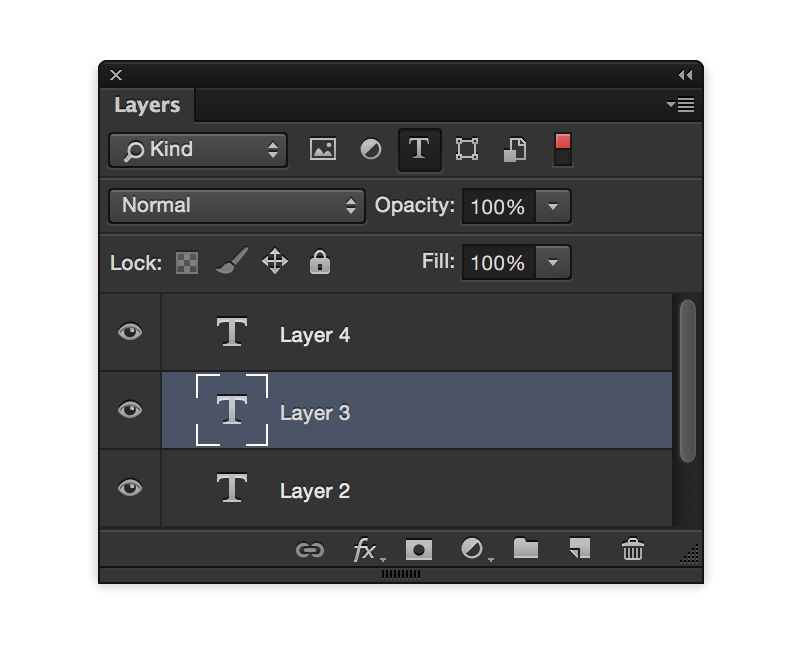
As you can see, text layers display differently to others in the Layer window to simplify accessibility and searching process. A quick and helpful tip which may help you when working with huge projects (in one PSD file): in the newest versions of Adobe Photoshop CS6 and above you can easily sort the layers by any kind. If you want to quickly see, for example, only the text layers, click the small T icon in the Layers panel:
4. Colors
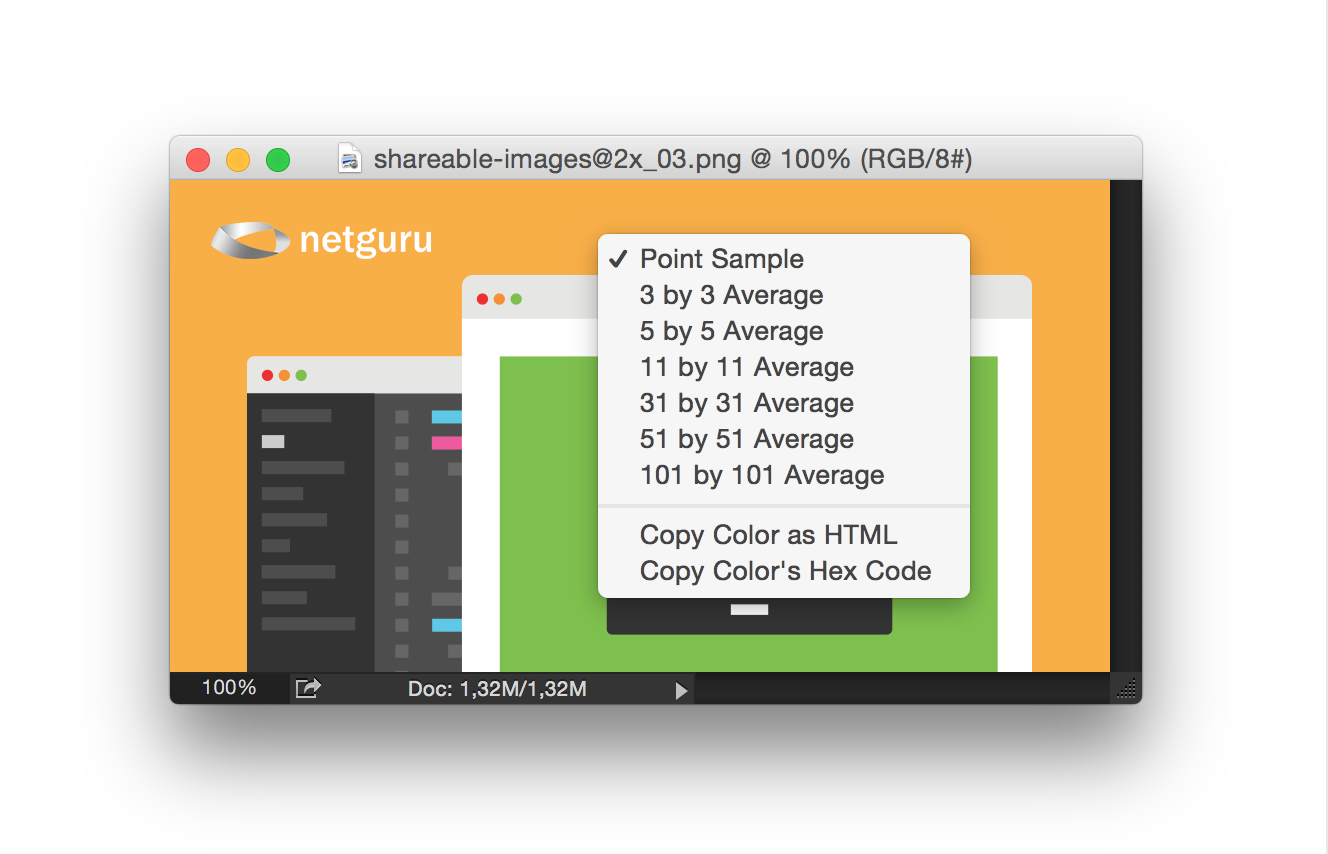
There are a few ways to quickly pick up a color from any element in the project. The easiest one is found with the shortcut (I - key). It’s called the Eyedropper Tool. Select it and right click on any element to examine its color then press “Copy color’s hex code.” That’s all. Simple right? This tool can be used using left click to get necessary information you need in only two more clicks. You can try it on your own.
5. Layers
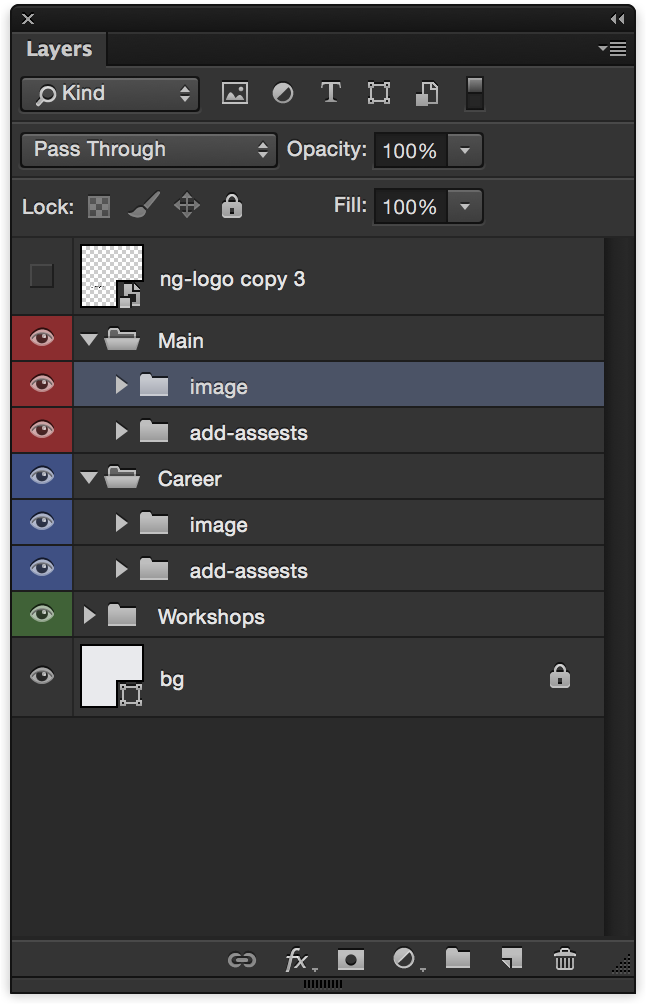
This window is essential for both designers and developers. From this view, you can gain insight on the structure of the project file, from the used elements to the cleanup which the designer may have left behind.
Layers can be moved, locked or deleted; we can also change their opacity. One important element is the “eye” icon located on the left of each layer and the “lock” icon placed inside the Lock bar located over all layers (a part of the Layers panel). The first allows you to change the visibility of the layer the second one is used for locking an object to make it steady while moving other elements inside the workspace. Both are extremely useful and helpful during the development process.
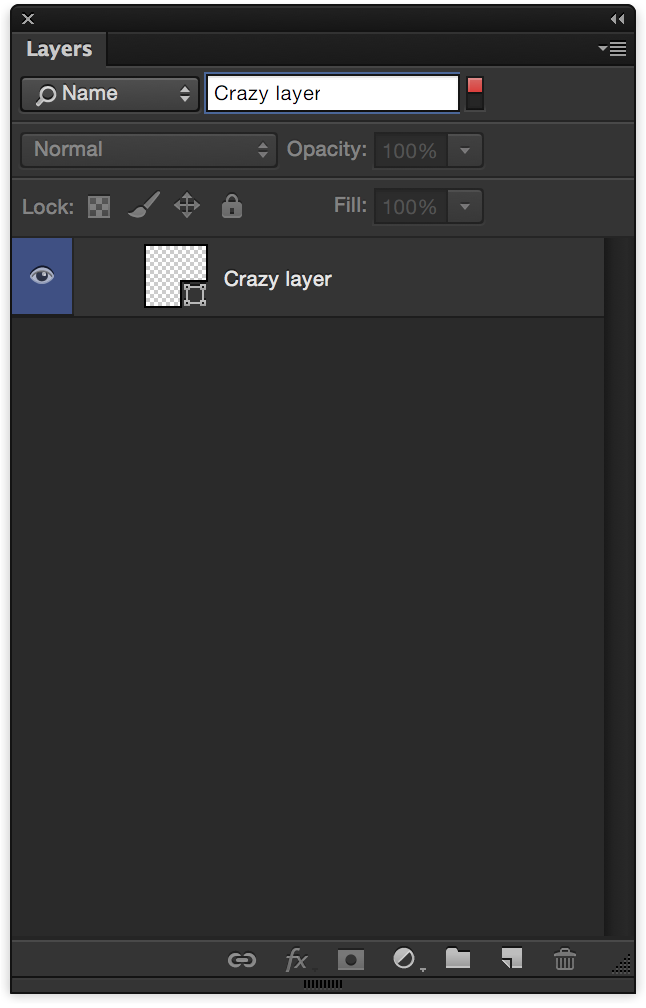
There’s a really handy search bar in the Layer panel. This search allows you to find a layer by name or by a specific type. For example, you can list only the text layers or the vector ones, as needed. This mechanism came with Photoshop CS6 and is very helpful for navigating large projects.
As a front-end developer, you should be able to handle any projects from any designer. Not all of them are meticulous and not all of them build a clean and intuitive environment for their successors. The developer’s role is to turn a PSD file into a fully working web project while making sure the concept remains exactly how it was designed and approved. It’s not easy, but I think these simple steps will make gathering information from the project much easier.
Want to kick off UI development? Follow these simple steps to get yourself started!


.jpg?width=384&height=202&name=10%20Tips%20for%20Stunning%20%20Dark%20Mode%20Design%20(1).jpg)


.jpg?width=384&height=202&name=Orbem%20website%20on%20a%20laptop%20(1).jpg)


